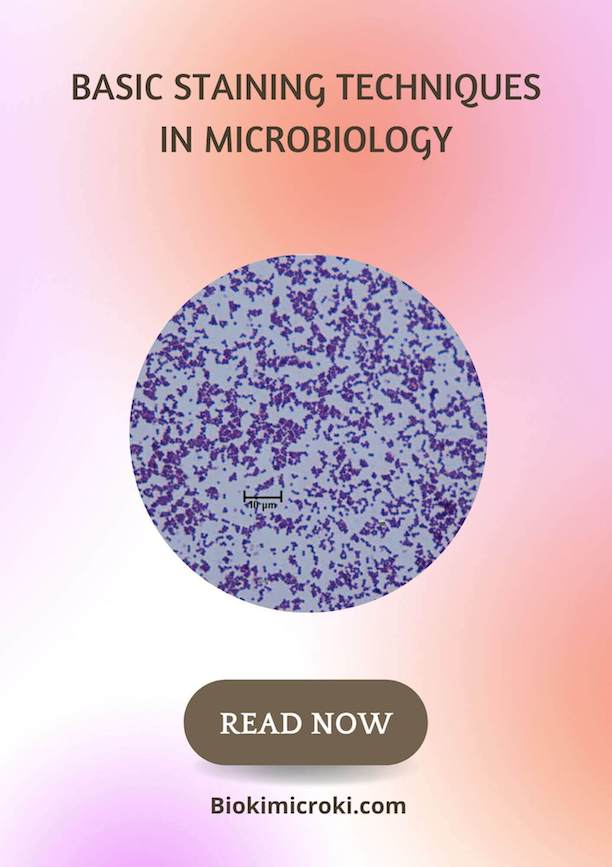
Staining technique is one of the fundamental technique in Microbiology used for observing the microbes under microscopes. The staining technique enhances and bring contrast in microbial specimen against the background making it visible under microscope. In staining, we use different staines and dyes to colour or highlight the specimen allowing us to explore microbial morphology. The staining technique is widely used in medical diagnostic and difference branches of life sciences. Pigmented or naturally coloured biological specimen do not need to be stained, hence the staining technique is employed for non coloured or non pigmented biological or microbiological specimen. The staining technique’s observation plays vital role in studying microbial morphology and their classification.
Definition of stain –
Stain is an organic molecule that contains benzene ring, chromophore and auxochrome group. Benzene is an aromatic functional group containing 6 carbons linked by single or double bond. Chromophore is responsible for imparting colour, it is possible because of its ability to absorb particular wavelength of visible light. Auxochrome is associated with chromosome enhancing its ability to absorb light.
Based on the need and conducted research, there are various staining techniques. In this article, we will discuss the basic staining techniques used in microbiology.
The purpose and application of staining technique is as follows –
- It differentiate and highlight the specimen from the background.
- We can study different shapes, morphology and arrangement of microbial cells.
- It allows to study different microbial organelles
- It examine the purity of culture.
- It determines the causative agent or pathogen for diagnostic purposes.
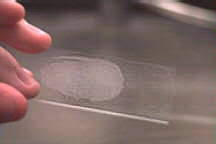
Staining technique can only be followed after smear formation. A smear is a thin microbial film of microbes that we form on glass slide. It can be formed by taking a loopful of microbial culture and spread it on clean glass slide.
Smear Preparation –
Following steps need to be followed to form the smear.
- Take a glass slide, wash it soap and water, dry it using paper towel. Wipe the clean slide using 70% alcohol and allow the alcohol to evaporate.
- Take a loopful of sterile distilled water and place it on the clean glass slide.
- Pick a microbial colony from nutrient agar, place it on water droplet and spread it using inoculating loop to form a smear.
- Allow the smear to dry at room temperature.
- Pass the glass slide through burning flame for 4 to 5 times to heat fix the smear. Heat fixing distort the living cell.
- Allow the slide to cool.
The smear will appear like thin transparent film which is ready for further staining purposes.
Types of Basic Staining Techniques –
Negative Staining –
The purpose of negative staining is to study the shape of the cell. In negative staining, the stain does not give colour to cell but rather it stains the background. The negative charge of the stain is repelled by negative charged molecules of specimen due to which the specimen remains unstained or transparent. Hence, in negative staining the specimen remains colourless and background takes the colour creating the contrast. For negative staining, stains like Nigrosin or Indian ink is used. For negative staining, heat fixing step is not required. Hence, it is employed for those cells which are too delicate for heat fixing. It is also used for staining encapsulated bacteria.
Procedure –
- Place a drop of nigrosin stain at one end of the clean glass slide.
- Using sterile inoculating loop, pick the bacterial colony and mix & spread it with the placed drop of nigrosin.
- Spread the mixture of bacterial suspension and nigrosin using the glass slide by tilting it at an angle of 45 degree and moving it across the edge. This will form a uniform and thin film or smear.
- Allow the smear to air dry.
- The dried smear is ready to observe the specimen under oil immersion.
- The specimen will appear colourless and background will appear coloured.
Simple Staining Technique –
In simple staining, the specimen appear colourful and background remains transparent. The most commonly used simple stains are crystal violet, methylene blue and safranine. The purpose of simple staining is to observe the specimen morphology and arrangement of cells. The bacterial cell surface contains negative charge and these stains are positive in nature. Due to their opposite charges, the cell is able to take the stain and appear colourful.
Procedure –
- Take a clean glass slide and wipe it with 95% alcohol using paper towel.
- Allow it to air dry.
- Take a loopful of bacterial culture and prepare a smear as explained above.
- Pour some drops of simple stains on smear and allow it to act for a minute.
- Pour off the stain and wash the smear gently with running tap water.
- Allow the slide to air dry and observe the slide under oil immersion.
- While observing, the background will appear transparent and the specimen or bacteria will appear colourful.
Differential Staining Technique-
In Differential staining, we can differentiate between bacteria based on their composition of cell wall. In differential staining, there are multiple steps and more than one stain is used. Gram staining, endospore and acid fast staining are few of the most common example of Differential staining.
Gram Staining Technique –
Please a detailed article on Gram Staining here.
Acid Fast Staining Technique –
Please a detailed article on Acid Fast Staining here.
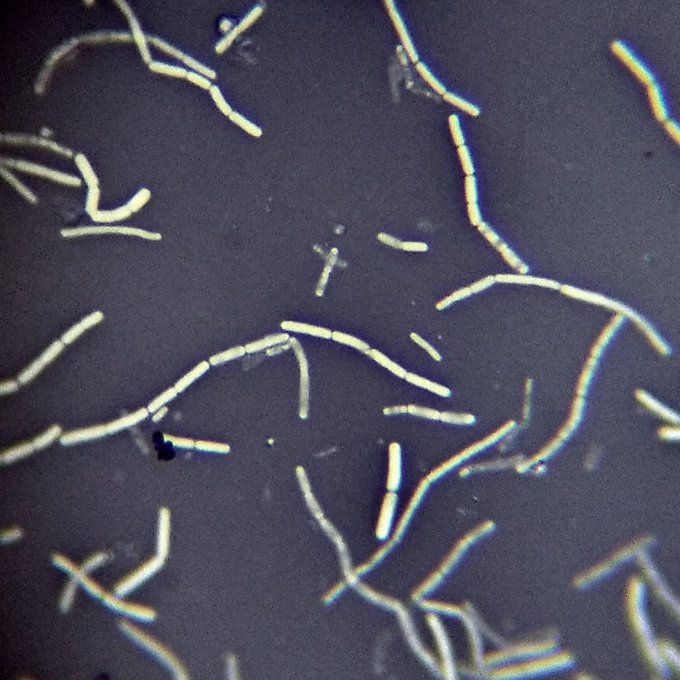
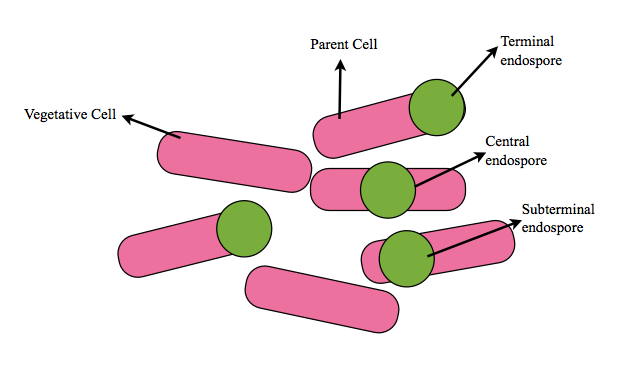
EndosporeStaining Technique-
Endospore is the highly resistant form of bacteria formed during adverse or unfavourable conditions. Read our article on endospore here. It is metabolically inactive but it can transform itself or germinate itself into its active or vegetative form in favourable conditions. The endospore is resistant due to its thick cell wall and hence, it needs special staining method.The endospore can be observed under microscope using staining method called Schaeffer-Fulton`s method. This staining methods needs malachite green as primary stain and safaranin as secondary stain.
Procedure –
- Take a clean glass slide and wipe it with alcohol.
- Prepare a smear and heat fix it.
- Take a blotting paper and cut it to fit the glass side. Cover the slide using the cut blotting paper.
- Pour malachite green stain over the blotting paper and saturate it. Allow the specimen to take the stain at least for 5 min. To fasten the process, the glass slide can also be steamed over boiling water. Remove the bloating paper.
- Wash the slide with running tap water.
- Counter stain the slide with safranine for 2 minutes.
- Wash the slide gently with running tap water.
- Observe the slide under microscope. The spore will take malachite green and the vegetative cell will take safranine. Hence, spore will appear green and vegetative cells will be pink in colour.
References –
https://profiles.uonbi.ac.ke/jamesmuthomi/files/acp101_microbiology_practical_exercises.pdf
Dr. Sangha Bijekar has 9 years of Teaching Experience at University level. She loves to get engage in teaching and learning process. She is into blogging from last two years. She intends to provide student friendly reading material. She is avid Dog Lover and animal rescuer. She is learned Bharatnatyam and Katthak Dancer. She is into biking and She also loves to cook.